
 Magic Wand Invitation Tutorial
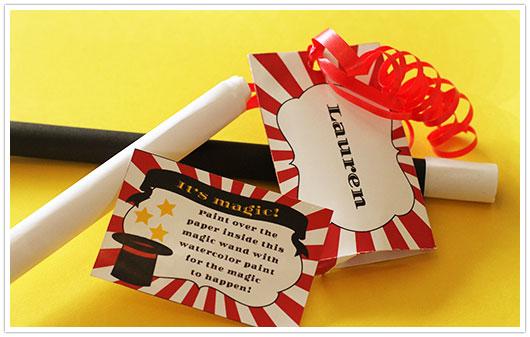
On Monday, I showed you the fabulous magic wand invitations that my friend and I made for her son's upcoming magic themed party. Today, I'm going to show you how we made them. They were not that hard to make and used supplies that you probably already have at home.
Supplies:
Black Construction Paper
White Copy Paper
White Crayon
Glue
Ribbon
Scissors
Hole Punch
Step 1: Cut a sheet of black construction paper in half lengthwise. We used a large piece of construction paper, so we ended up cutting it in fourths. Roll it up and glue the end to close it.

Step 2: Cut two strips approximately 1 inch/2.5 cm high from the white copy paper. Make them long enough to go around the wand about 2 times. This helps to keep the wand closed up. Glue one strip to each end of the wand. Allow to dry.

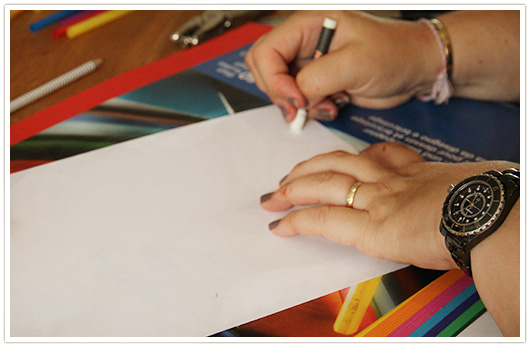
Step 3: Use a full sheet of white copy paper and write your party details on it with a white crayon.
Step 4: Punch a hole in the top of the paper and attach a ribbon to it.
Step 5: Tightly roll up the sheet of paper and insert it into the wand that you made.
Step 6: Attach the envelope with the instructions inside to the ribbon. Curl the ribbon.
Step 7: Abracadabra...you're finished! Hand deliver them to your guests and watch them smile.
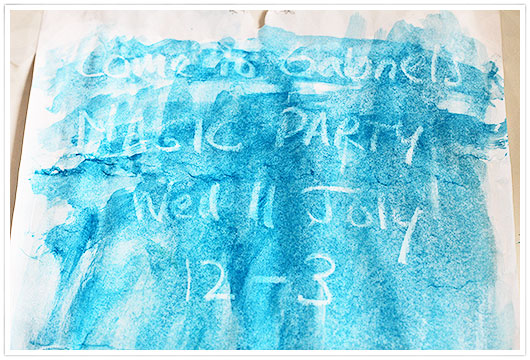
This is what they will see when they paint over the paper...
No comments :
Post a Comment